
Setups
Status: AVAILABLE
Click Setup on the left. Each setup describes one machining side (top, bottom, front, back, left, right) with its own zero point, fixtures and checks.
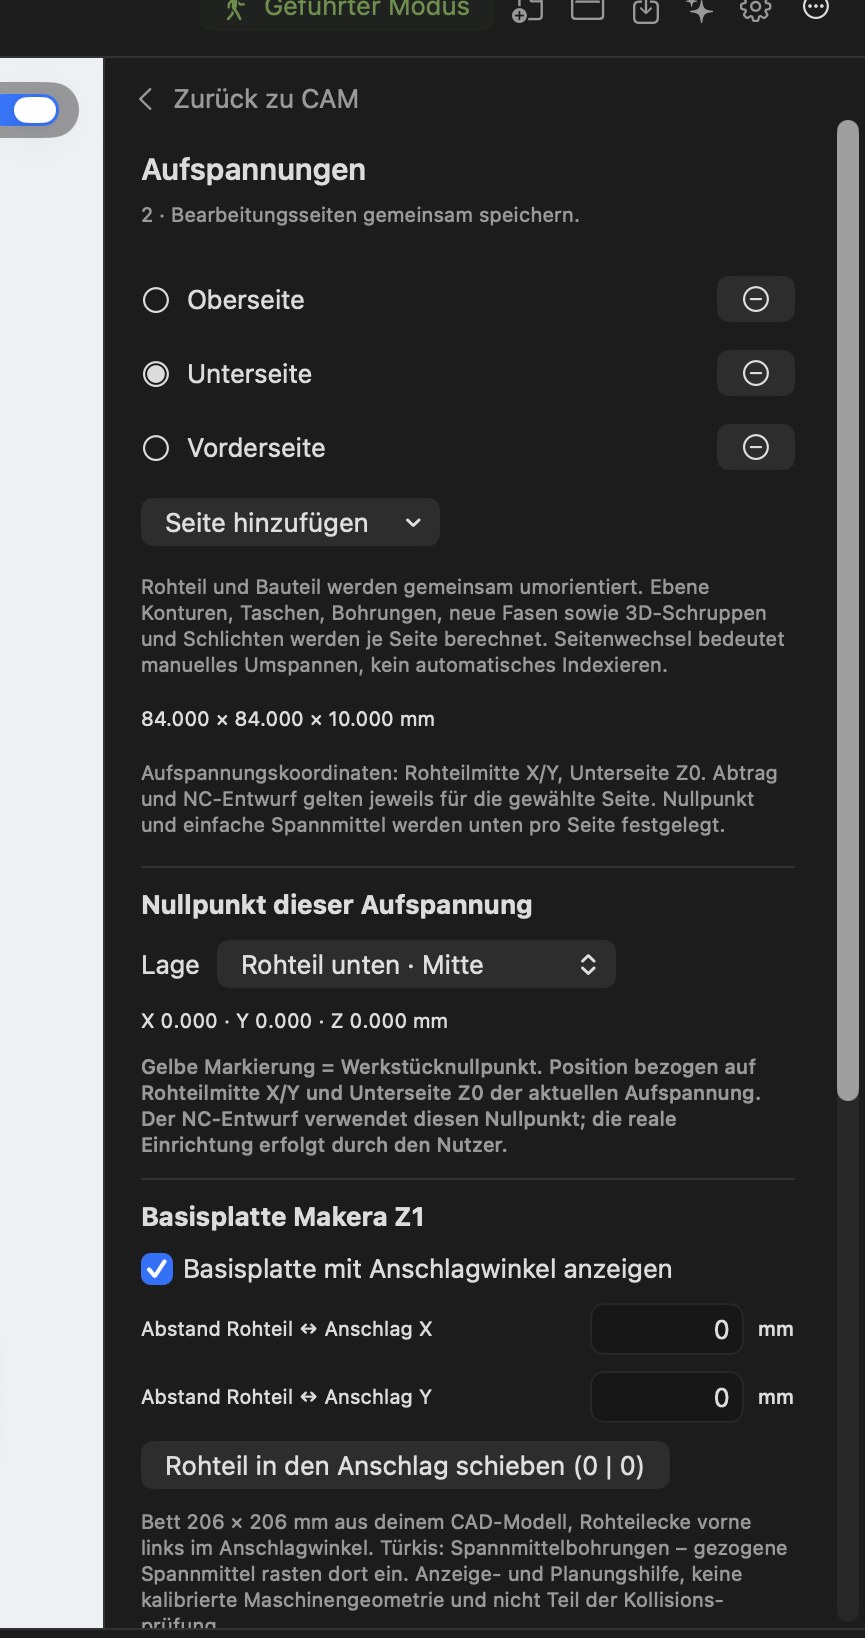
On the Setups page:
- A list of sides (e.g. top, bottom, front); use Add side to create more.
- Zero point of this setup – “Position”, e.g. “Stock bottom · Center”. A yellow marker shows the workpiece zero in the workspace. The machine file uses exactly this zero point; you set it yourself on the machine.
- Makera Z1 base plate – displays the base plate with locating angle, the stock ↔ stop distance in X and Y, and the Move stock against the stop button. The turquoise circles are fixture holes where fixtures snap into place.
When a part is machined from several sides, you must reclamp it by hand between sides. The program plans all sides together, keeps the geometry correctly aligned in space and exports a separate machine file for each side.
Fixtures
Status: AVAILABLE
Use Fixtures to add a clamp. On the Makera Z1, it is automatically placed on the next free hole in the base plate. You can move fixtures with the mouse in the 3D area; they snap to the holes (⌥ = free movement). On every calculation, the program checks whether the cutter, neck, shank or holder would touch a registered fixture, and blocks the calculation if so.
Stock and machine workspace
Status: AVAILABLE
The program checks whether the stock and part fit within the working space and whether the tool is long enough. Stock overhang beyond the table is allowed with a warning; axis travel limits are never ignored.